
Today I made the decision that I am going to lose this extra weight and keep it off. I know that there is no secret to losing weight-- you just take in less than you need to maintain your body weight and the pounds should come off. I've tried cutting calories and swimming, and walking and nothing seems to be helping. So today I called a dietician, and she says she thinks she can help me. That's good, because at 62, my weight is an issue. I have what seems to be arthritis in my hips and knees (from riding horses all my life?) and high blood pressure, too. I have a family history of diabetes, and I don't want to go down that lane. One of my aunts lost both her legs to diabetes before she died, and with the chronic pain I have in my legs, I don't want to be next!
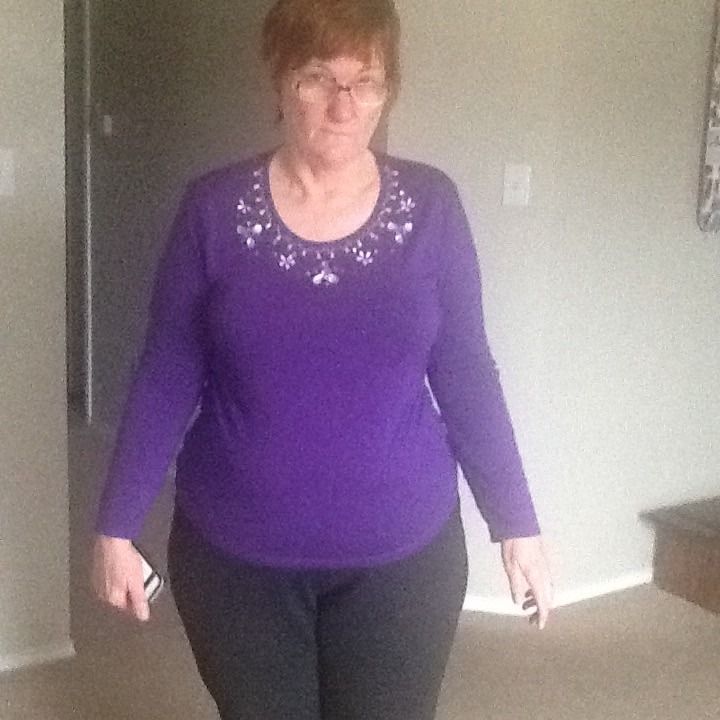
So here's the thing. I'm going to get my husband to take a full-body picture of me today, which I will post here, along with my dimensions and weight. I'll chronicle the changes made in my diet and lifestyle and what I go through, physically and emotionally, as I seek to return to a healthy weight. And YOU get to come along for the ride! Hooray! (Misery loves company, or so I've heard!)
Here's what I think I'd like my goal to be: 150 lbs. I don't know if that's reasonable or doable or what. I guess I'll see!
Starting weight: 215.6
Height: 5'7"
Waist: 37"
Bust:43"
Hips: 49.5"
I have an appointment to see a Registered Nutritionist on Saturday, March 7. So I really am only trying to eat less and stay away from junk until then. That's when my regimen will really start. Which is good, because my grocery shopping day is early Sunday morning while everyone is at church (we attend church on Saturday night). So until then, I probably won't be posting much, except for struggles. See ya then!


